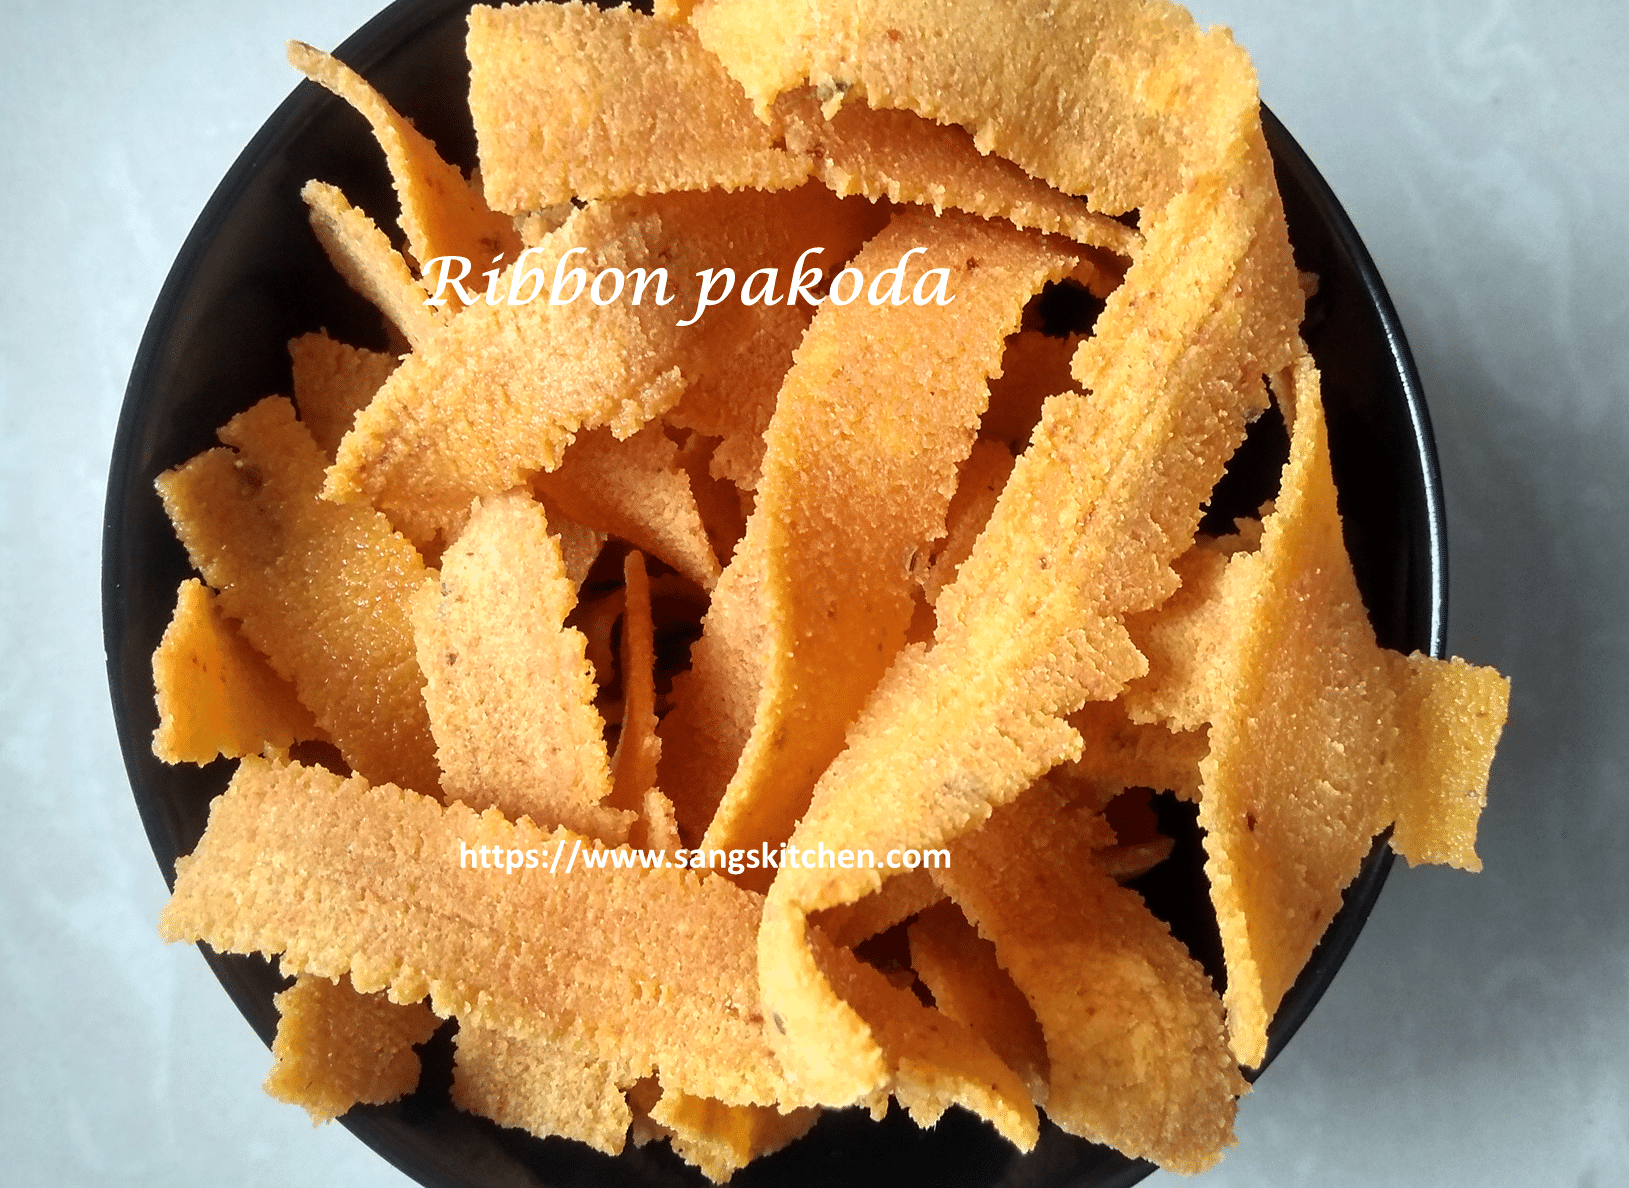
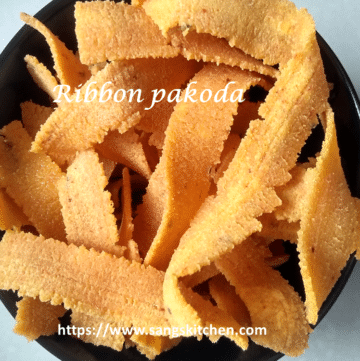
Ribbon pakoda | How to make Crispy Ribbon murukku
Ribbon pakoda is a crispy murukku variety made of rice flour, besan flour, and some spices. Learn to make this easy ribbon pakoda with a video.
This ribbon murukku, which is also called Nada thenkuzhal/Nada murukku/Nada is a simple recipe compared to other murukku varieties.
There is no need for grinding rice instead you can use readymade store-bought rice flour. I added ajwain seeds today for the flavor and easy digestion. You can also use either black sesame seeds or jeera seeds.
Follow a few simple tips given in the last section of this post to make a perfect crispy ribbon pakoda. As the name suggests it has a flat Ribbon shape. You need a murukku maker that comes with different shapes of pressing molds to make this ribbon pakoda. To get complete tips about making the perfect murukku check my ulundhu murukku post.
Try this Ulundu murukku(Vellai murukku) and Thattai also to make your festivals interesting.
Let us see a video of making this crispy ribbon murukku.
Ribbon pakoda | How to make Crispy Ribbon murukku
Ingredients
- 1 cup rice flour
- 1 cup besan/gram flour
- 1 pinch asafoetida
- ¼ tsp ajwain seeds(omam)
- ½ tsp salt(as per taste)
- ½ tsp chilli powder
- 1 tbsp melted butter
- Water to mix
- Oil to deep fry
Instructions
Recipe:
- In a bowl take rice flour, besan/gram flour in equal quantity.
- Add hing, ajwain seeds (omam in Tamil).
- You can add salt and red chilli powder as per your taste preference. For one cup rice flour and 1 cup besan, I use 1tsp of salt and chilli powder each.
- Now add 1 tbsp of hot melted butter.
- Combine all dry ingredients first.
- Now add water gradually (in tbsp) and start kneading to make a thick soft dough as shown.
- The dough should be soft like chapati dough without cracks. At the same time, it should not be sticky. If water becomes more and the dough is sticky then add a tsp of rice flour and knead again.
- Cover with damp cloth or with an airtight lid.
How to fry ribbon pakoda:
- Meanwhile, heat enough oil to deep fry.
- If you are beginner first make the dough, keep aside covered, then heat oil to avoid overheating of oil. But it is easy and time-saving if you heat oil while mixing the dough.
- To check the correct temperature of the oil, drop a small Pinch of dough and if it raises immediately to the top then oil is in perfect heat.
- Apply/grease the inside of the murukku maker with oil. Insert the dough and choose the slitted mould and fix the murukku maker.
- Press the dough in a circular motion carefully into hot oil as shown. You will get an oozing sound.
- Do not crowd by making lots of circles. Fry in medium temperature for 3 minutes approximately.
- Do not touch or stir in between. When the bottom side is done flip to the other side. Again fry for few more minutes.
- When both sides are golden brown and crisp bubbles completely settle down.
- Remove from oil and place in tissue paper to remove excess oil.
- Serve or store in an airtight box. This pakoda can stay crisp up to ten days.
Video
Notes
Nutrition
Ribbon pakoda – Method with Pictures:
- In a bowl take rice flour, besan/gram flour in equal quantity. Add hing, ajwain seeds (omam in Tamil).


- You can add salt and red chilli powder as per your taste preference. For one cup rice flour and 1 cup besan, I use 1/2 tsp of salt and chilli powder each.


- Now add 1 tbsp of hot melted butter.

- Combine all dry ingredients first.
- Now add water gradually (in tbsp) and start kneading to make a thick soft dough as shown.


- The dough should be soft like chapati dough without cracks. At the same time, it should not be sticky. If the water becomes more and the dough is sticky then add a tsp of rice flour and knead again.
- Cover with a damp cloth or with an airtight lid.
How to fry ribbon pakoda:
- Meanwhile, heat enough oil to deep fry.
- If you are a beginner first make the dough, keep aside covered, then heat oil to avoid overheating of oil. But it is easy and time-saving if you heat oil while mixing the dough.
- To check the correct temperature of the oil, drop a small pinch of dough and if it raises immediately to the top then the oil is in perfect heat.
- Apply/grease the inside of the murukku maker with oil. Insert the dough and choose the slitted mold and fix the murukku maker. Use any one of the below slots.


- Press the dough in a circular motion carefully into hot oil as shown. You will get an oozing sound.
- Do not crowd by making lots of circles. Fry in medium temperature for 3 minutes approximately.

- Do not touch or stir in between. When the bottom side is done flip to the other side. Again fry for few more minutes.
- When both sides are golden brown and crisp bubbles completely settle down.

- Remove from oil and place in tissue paper to remove excess oil.

- Serve or store in an airtight box. This pakoda can stay crisp for up to ten days.
Tips/Notes:
- For making any kind of murukku the first and foremost point to note down is the oil should be hot enough to start frying. To check the perfect temperature to fry, follow the instructions given above. When the oil is in perfect heat reduce heat to medium temperature and continue frying.
- Make sure the oil is hot enough before making each batch.
- Add only the given quantity of butter for the other given measurements to get crispy murukku. If the butter is more, then ribbons will break into pieces inside oil while pressing. If the butter is very less, then the pakoda will become harder.
Excellent ribbon pakoda.
Pingback: Masala kadalai | Masala peanuts | Masala fried groundnuts | Sangskitchen
Pingback: Murukku recipe | How to make instant murukku | Sangskitchen
Pingback: Mysore Pak recipe | How to make traditional Mysore Pak | Sangskitchen
Pingback: Thattai recipe | How to make crispy Thattu vadai | Sangskitchen
Pingback: Boondi laddu | Boondi ladoo | How to make boondi laddu | Sangskitchen
Pingback: Badusha | Badhusha | How to make badusha | Sangskitchen
Pingback: 7 Cup Burfi | 7 cup cake | How to make 7 Cup sweet recipe | Sangskitchen
You have told a very good recipe, can you add kush or til in it, like cashew or til