
Pizza | Veg paneer tawa/pan pizza | Homemade thin crust pan pizza
Pizza is everyone’s favorite and here I am with completely homemade tawa pizza. I have explained how to do this thin crispy crust tawa/pan pizza in home simply with detailed pictures and video. Many of my friends suggested posting continental & international recipes too. This time I chose to give recipe for thin crust pan pizza recipe as many of us may not have oven at home. Comparatively this pan/tawa method is a simpler one to traditional oven method. Soon I will post oven pizza method too.
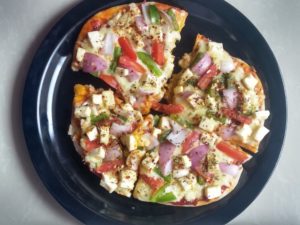
This veg paneer pizza is delicious in taste and you cannot resist yourself with just one portion. Monthly twice I try to make this pizza at home for my kids and in the name of them we can also have a slice ;). After all once in a while we can relish junks too 😉
To make this as a complete homemade one, I prefer to use most of the ingredients from my kitchen cup boards/fridge except very few ready-made items like oregano, cheese and dry yeast. Most importantly the pizza base and pizza sauce both are homemade in my recipe. Please try to follow the steps to make your own pizza base as it’s really simple to make at home. Also try to use organic maida, which is free from chemicals. You can add wheat flour too with maida.
Actually in pan pizza method the pizza base made exactly to the same size of the pan, roasted/baked in medium heat on stove. But a thin crust pizza can be made in tawa, which is easier one too.

Pizza | Veg paneer tawa/pan pizza | Homemade thin crust pan pizza
Ingredients
Ingredients:
To make dough:
- 2 cups of maida 1 cup=240ml
- 1 tbsp of dry yeast
- 2 tbsp luke warm water
- ½ to ¾ cup water approx..
- ½ tsp of sugar
- ¼ tsp of salt
- 1 tbsp olive oil you can use any non-flavored oil like sunflower oil
To make toppings:
- 2 tbsp of Pizza sauce
- 100 g mozzarella or pizza cheese
- 2 tsp oregano
- 2 tsp chilli flakes
- 100 g paneer
- 1 cup of mixed cut vegetables onions, capsicum, tomato
- 1 tsp of oil
Instructions
Preparation:
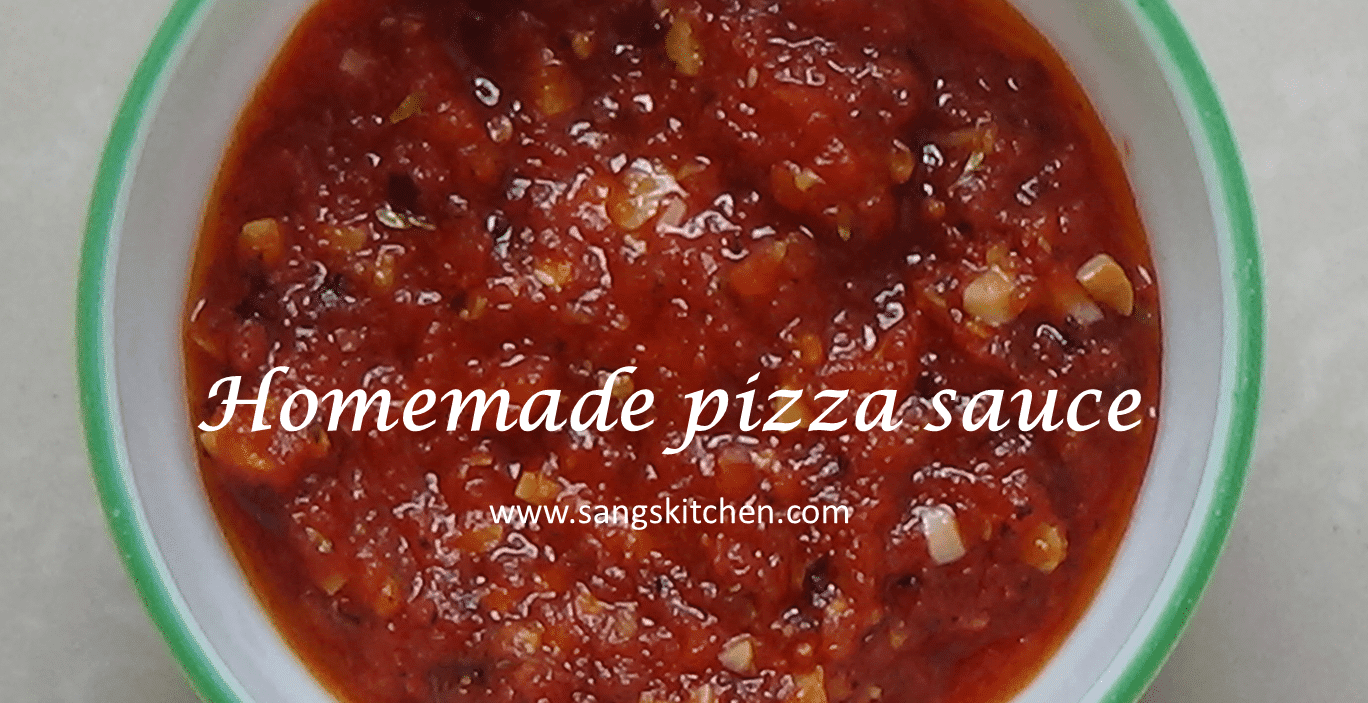
- Make pizza sauce. Check my blog to see how to make homemade pizza sauce. You can use ready made pizza sauce too.
- Grate cheese and keep ready.
- Slice vegetables.
- Cut paneer into small cubes.
- If you don’t have readymade chilli flakes, just grind 3-4 dried red chillies in a blender to prepare fresh chilli flakes.
Recipe:
How to make pizza dough:
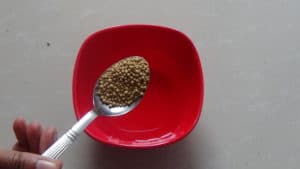
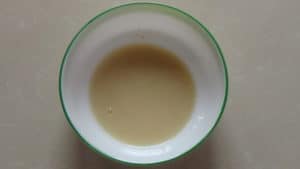
- Soak active dry yeast in luke warm water.
- Add sugar with the yeast.
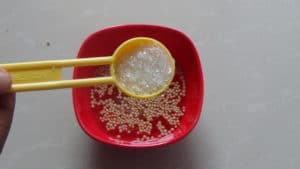
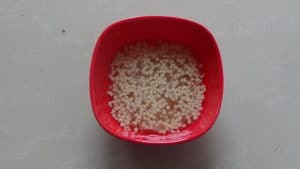
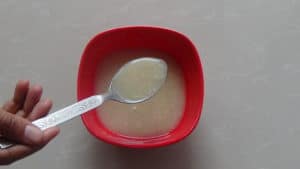
- After 15 minutes you can see the yeast turn into a bubbly mixture completely dissolved in water.
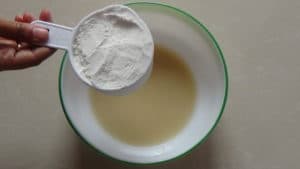
- Take this mixture in a mixing bowl.
- Add two cups of maida and salt into the bowl.
- Mix with the yeast mixture.
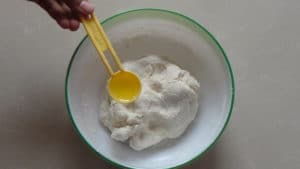
- Start kneading the dough by adding required water. The dough should be like chapati dough.
- Finally add oil and knead smoothly.
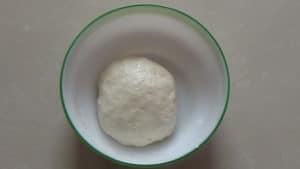
- Cover with a tight lid/damp cloth and keep aside for minimum one hour. Meanwhile you can prepare the toppings.
Prepare toppings
- Heat a small pan with oil.
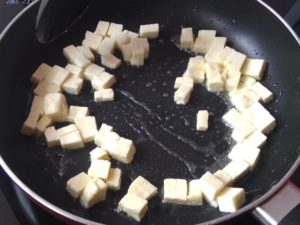
- Fry paneer cubes to light brown color and keep aside.
- If you don’t like capsicum to be too crunchy, then fry capsicum slices in the same pan for two minutes and keep aside. I have tossed capsicum just quickly for two minutes.
How to make pizza:
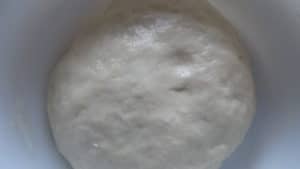
- After one hour the dough will double in size as you see in the picture.
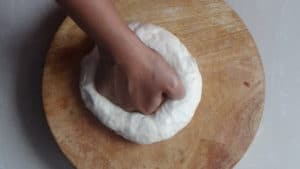
- Transfer dough to workplace and gently give a punch as shown. This gentle pressure is to remove extra air bubbles formed inside. DO NOT KNEAD AGAIN.
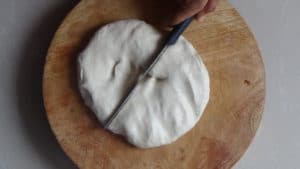
- Divide the dough into two equal portions.
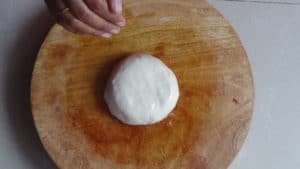
- Take one portion and make it as a big ball to roll.
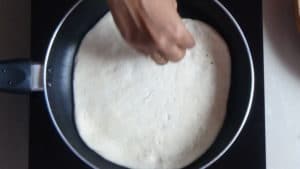
- Now roll the dough ball into thick circle. Also you can press with fingers. Please keep in mind not to roll the dough very thin. The base crust should have considerable thickness to hold the slice in hand. Ideally the base should be neither paper thin nor too thick. Too heavy base cannot be baked well in tawa/pan.
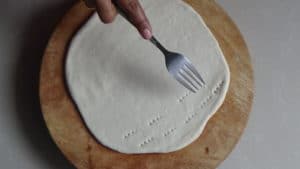
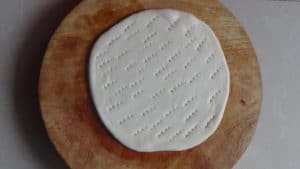
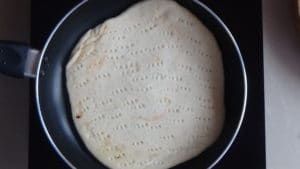
- Now use a fork and make dots as shown. Don’t do this very hard, just pinching is enough. These dots help the sauce and cheese to seep inside dough to give excellent taste while biting.
- Heat a pan or tawa on stove and brush with oil. Note: Do not pour oil like shallow frying. Brush with few drops.
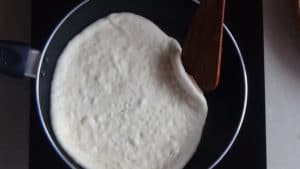
- Place the rolled dough in pan such as the dotted face goes to bottom side. Keep the pan in very low heat.
- Half cook that dotted side for 3 to 4 minutes. You can check by flipping the corner. It should be cooked but not roasted fully. If your pizza base is thick one allow few more mins to cook in low heat by closing with a lid.
- Flip to the other side and cook in same slow temperature.
- After 3 to 4 minutes switch off stove, transfer this cooked base to working place as shown. The dotted side should face on top. This is the face side to fill toppings.
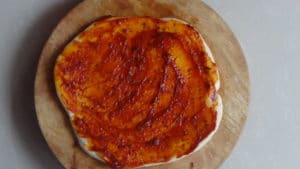
- Apply a tablespoon of pizza sauce evenly. Check here for homemade pizza sauce.
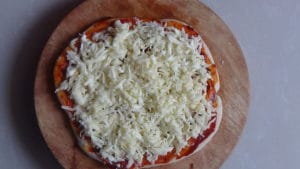
- Top with grated cheese as shown. You cheese according to your liking 😉
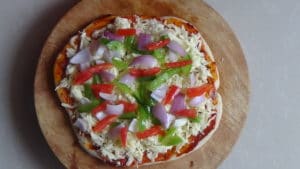
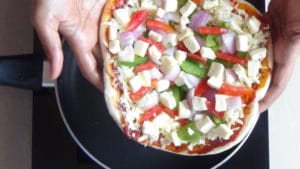
- Now arrange vegs one by one. Avoid overcrowding of vegs.
- Top with fried paneer cubes.
- Sprinkle with crushed dried oregano and red chilli flakes.
- Heat the same pan again which we used to half bake pizza with few drops of oil. For non-stick pan or tawa no need of oil.
- Place the pizza in the pan and keep in slow flame.
- Close with correct size lid.
- Let the pizza bake slowly for few minutes. The cooked crust will be of thin, crispy and inside the dough fully soft cooked.
- Since the base is already half cooked, you need not cook for more than five minutes.
- By this time the cheese starts melting.
- Switch off the stove and transfer carefully to a plate.
- Enjoy your homemade veg pizza.
Video
Notes
Nutrition
Pictorial:
Preparation:
- Make pizza sauce. Check here to see homemade pizza sauce. You can use ready-made pizza sauce too.
- Grate cheese and keep ready.
- Slice vegetables.
- Cut paneer into small cubes.
- If you don’t have readymade chilli flakes, just grind 3-4 dried red chillies in a blender to prepare fresh chilli flakes.
Recipe:
How to make pizza dough:
- Soak active dry yeast in lukewarm water.
- Add sugar with the yeast.
- After 15 minutes you can see the yeast turn into a bubbly mixture completely dissolved in water.
- Take this mixture in a mixing bowl.
- Add two cups of maida and salt into the bowl.
- Mix with the yeast mixture.
- Start kneading the dough by adding required water. The dough should be like chapati dough.
- Finally add oil and knead smoothly.
- Cover with a tight lid/damp cloth and keep aside for minimum one hour. Meanwhile you can prepare the toppings.

Prepare toppings:
- Heat a small pan with oil.
- Fry paneer cubes to light brown color and keep aside.
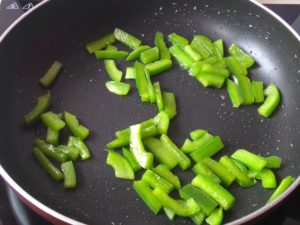
- If you don’t like capsicum to be too crunchy, then fry capsicum slices in the same pan for two minutes and keep aside. I have tossed capsicum just quickly for two minutes.
How to make pizza:
- After one hour the dough will double in size as you see in the picture.
- Transfer dough to workplace and gently give a punch as shown. This gentle pressure is to remove extra air bubbles formed inside. DO NOT KNEAD AGAIN.
- Divide the dough into two equal portions.
- Take one portion and make it as a big ball to roll.
- Now roll the dough ball into thick circle. Also you can press with fingers. Please keep in mind not to roll the dough very thin. The base crust should have considerable thickness to hold the slice in hand. Ideally the base should be neither paper thin nor too thick. Too heavy base cannot be baked well in tawa/pan.

- Now use a fork and make dots as shown. Don’t do this very hard, just pinching is enough.
- Heat a pan or tawa on stove and brush with oil. Note: Do not pour oil like shallow frying. Brush with few drops.
- Place the rolled dough in pan such as the dotted face goes to bottom side. Keep the pan in very low heat.
- Half cook that dotted side for 3 to 4 minutes. You can check by flipping the corner. It should be cooked but not roasted fully. If your pizza base is thick one allow few more mins to cook in low heat by closing with a lid.
- Flip to the other side and cook in same slow temperature.
- After 3 to 4 minutes switch off stove, transfer this cooked base to working place as shown. The dotted side should face on top. This is the face side to fill toppings.
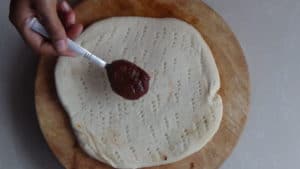
- Apply a tablespoon of pizza sauce evenly. Check here for homemade pizza sauce.
- Top with grated cheese as shown. You can add quantity of cheese according to your liking 😉
- Now arrange vegs one by one. Avoid overcrowding of vegs.
- Top with fried paneer cubes.
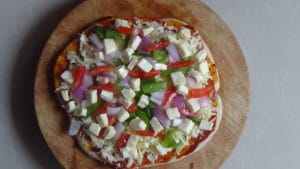
- Sprinkle with crushed dried oregano and red chilli flakes. You can add spices after cooking pizza also. I added after five minutes.
- Heat the same pan again which we used to half bake pizza with few drops of oil. For non-stick pan or tawa no need of oil.
- Place the pizza in the pan and keep in slow flame.
- Close with correct size lid.
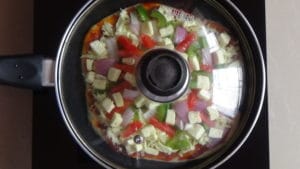
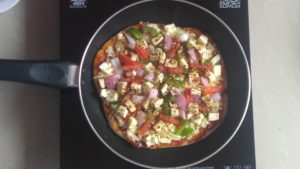
- Let the pizza bake slowly for few minutes. The cooked crust will be of thin, crispy and inside the dough fully soft cooked.
- Since the base is already half cooked, you need not cook for more than five minutes.
- By this time the cheese starts melting.
- Switch off the stove and transfer carefully to a plate.
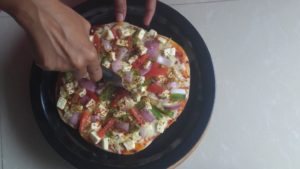
- Enjoy your homemade veg pizza.
Tips/notes:
- Important note is to keep stove heat to low level while cooking tawa pizza to avoid complete roasting.
- You can use readymade pizza base also. Except dough making, follow the rest of the procedure to do homemade pizza.
- Use any topping vegetables like boiled corn kernels, mushroom, jalapeno, red/yellow capsicum and olives. Base pizza recipe is same.
- If you like double cheese loaded pizza, after layering vegs add another layer of cheese 😉
- Adjust oregano and red chilli flakes based on taste. You can sprinkle extra if you like.
Wow,what a sizzling pizzzzzza…..yummmm,,????
Pingback: Chicken zinger burger |How to do KFC style chicken zinger burger at home
Pingback: 2 ingredient pancake | Super quick kids friendly pancake | Sangskitchen